How To Properly Shoot A Pistol Accurately #
It is important to learn how to shoot a gun properly to ensure your safety, and to be able to defend yourself in the worst case scenario. We’ll cover some basic fundamentals for handling and firing a handgun. Continue reading this article to learn the proper way to shoot a gun.
Handguns can be used for self-defense or even as a recreational tool. Handling a handgun is a big responsibility.
Follow these four firearm safety rules:
- Always point your gun in a safe and secure direction.
- Treat your gun as though it is loaded.
- When you are ready to shoot, keep your finger off of the trigger.
- Make sure you know what’s beyond your target.
To view a list of all rules for firearm safety visit the website of the Firearm Industry Trade Association.
Practice, Practice and Practice #
#

These pistol shooting tips can help you learn the basics of shooting. But, ultimately, only practice will make perfect. With time and practice, you can become a proficient shooter.
It is easier to stick to something you enjoy if it’s fun. We offer many different shooting experiences, including training for concealed carry and armed security. The Range 702 offers the best shooting range in town for honed skills, or to have some fun and blow off steam.
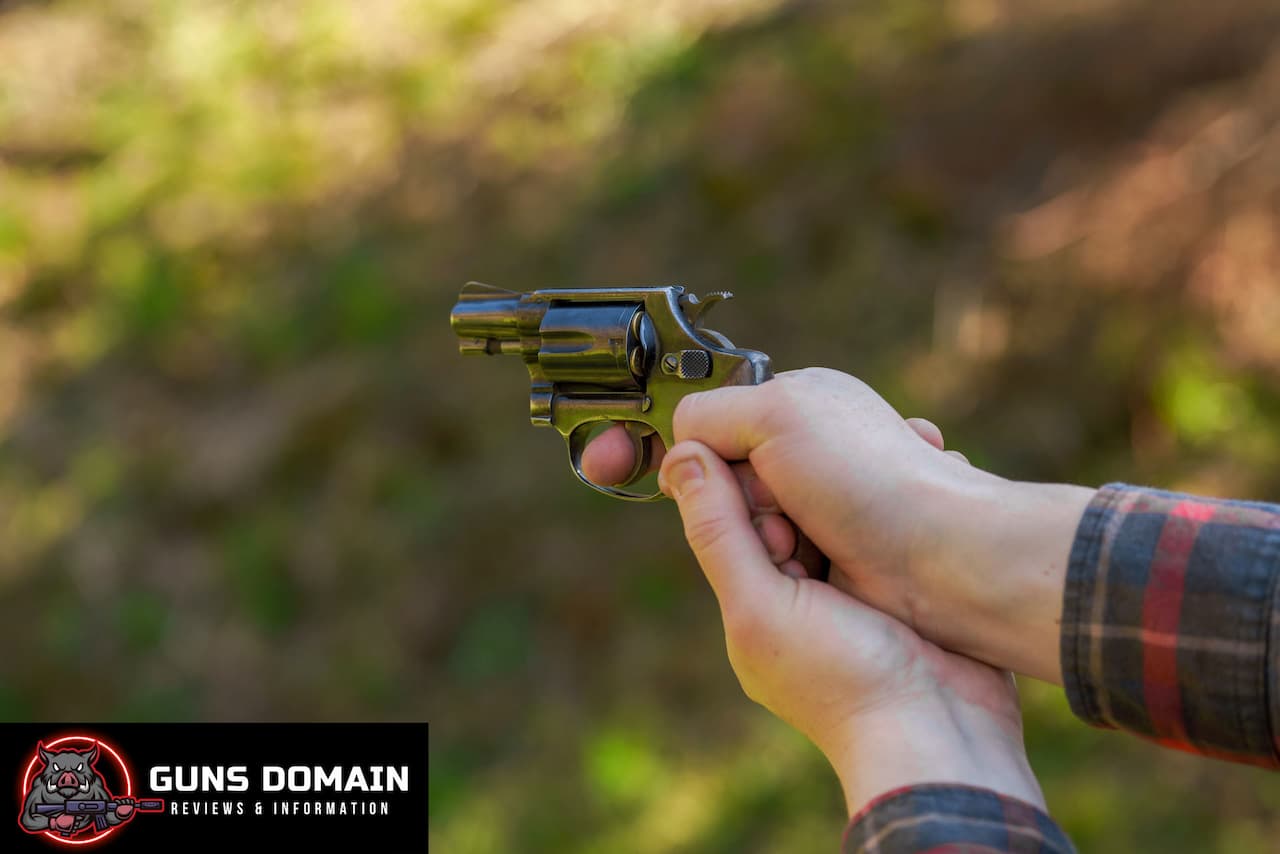
How to grip a pistol properly #
You can imagine that grip is very important when you are shooting a pistol. When gripping a handgun, your goal should be to maintain positive gun control while absorbing recoil. This will also help to reduce muzzle flip. There is no universal grip due to the different sizes of hands of shooters and the grips of the pistols. Try out the following grips to find one that suits your hands and firearm.
The gap between the thumb and index fingers should be as high as you can get it under the rear slide, without getting in the way. Your thumb should rest on the pistol’s frame, while your index finger should be positioned along the slide. The tip of your thumb should point in the direction of the barrel. You want to apply as little rotational force as possible on the pistol. To do this, squeeze the pistol using your base of palm and fingers, aligning them with the front and back of the gun.
Wrap your support hand around your dominant hand’s middle, ring, and pinky finger. With the support hand, the goal is to secure the pistol’s frame. You’ll need to cover any grip area that your dominant hand cannot reach. This will depend on the size of your hands and the pistol. You’ll need to rotate your supporting hand forward so that the base of its palm engages the frame. The thumb of the support hand can rest on top or parallel to your dominant thumb.
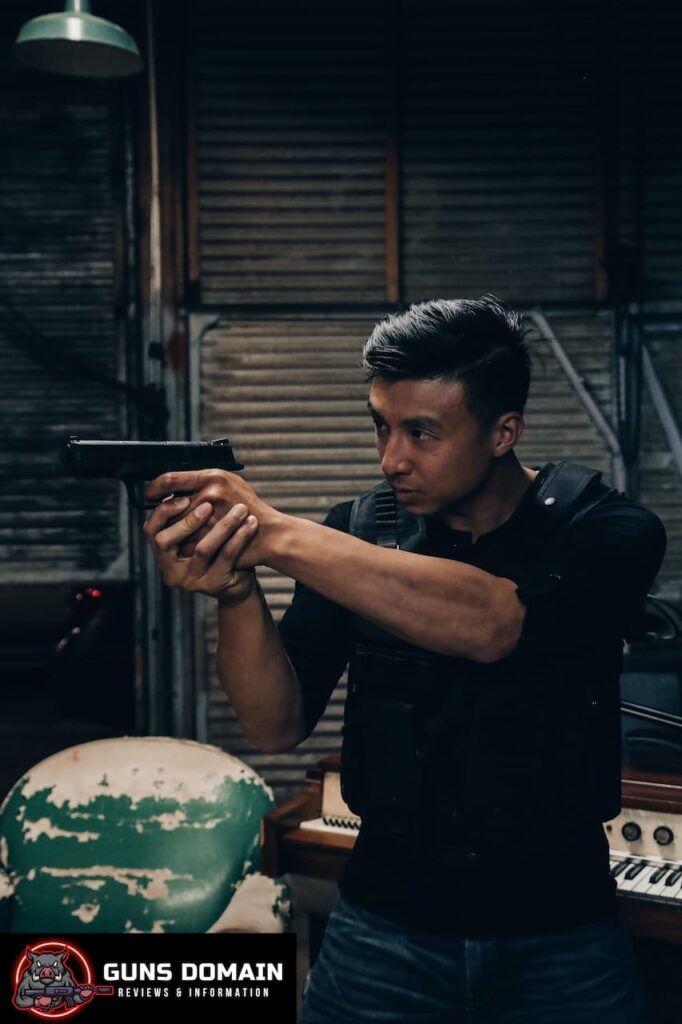
Shooting stances #
A steady stance is also necessary to accurately shoot a handgun. You won’t feel the recoil if you don’t hold your gun properly and are not planted. Recoil is the force that comes from the explosion in the chamber of the pistol. Recoil is different from muzzle flip or muzzle rise, which are caused by the gas leaving the barrel as well as the rapid shift of the gun’s centre of gravity rearwards when the slide is blown forward.
A proper stance will make it easier for you to control and aim your firearm. If you are a fairly experienced shooter who wants to improve your shooting, the details can often be found in the stance. We’ll discuss the strengths and weaknesses of several common shooting positions in this section.
Power Isosceles Stance
Shooting competition champions use the power isosceles. This is a modified version of the ancient isosceles position. This stance is popular among shooters because it’s simple and natural.
Assume the isosceles position by standing straight with your knees slightly bent, your feet shoulder-width apart, facing your target. Raise your gun up to eye level, and extend both arms fully. This is the isosceles original stance. When you move your shooting foot 8-10 inches back and unlock your knees, the stance gains ‘power. This stance should be similar to how you would stand up and throw a punch at an opponent.
The power isosceles gives you stability and control of recoil without losing the benefits of the original isosceles position, such as:
- Weaver’s stance is easier to adopt than Chapman’s stance and requires less practice.
- You will have a wider peripheral view since you are squarely facing your target
- It is easier to aim for shooters who are cross-dominant than with the Weaver or Chapman positions.
Weaver Stance
Over the past two decades, the Weaver stance has been taught to thousands of shooters – from Law Enforcement to Competition Shooters. You might recognize this stance from action movies.
Assume the Weaver’s stance by bringing the foot of your non-shooting leg 8-10 inches ahead of the other, toes pointing toward the target. The shooting side foot should be slightly turned outward, at a 45 degree angle.
Keep your shooting arm slightly bent. Your support arm is bent at the elbow in a downward 45-degree angle to your strong arm.
For a firm grip, pull the support hand into the shooter and push the strong hand slightly outward towards the target.
Weaver Stance: Advantages
- With practice and time, it becomes easy to adopt a stance.
- If you can maintain a stable position, it is a good idea to have strong arms and back muscles.
- Bring the sights closer to improve accuracy.
Disadvantages
- Maintaining a correct stance requires arm, wrist, shoulder and back strength.
- This puts a lot of strain on your shoulder and back, especially if you are strong.
- It is not ideal to have your dominant eye and hand on the opposite side.
Chapman Stance
The Chapman stance is another popular stance. It is a variation on the Weaver position. In the Chapman position, the foot on the support side is not as far forward. Your shooting-side hand acts like a rifle stock. Some people rest their jaws on their upper arms to bring the sights closer.
Chapman Stance: Advantages
- It is easier to adopt for those with less upper body strength than the Weaver position.
- Weaver’s stance is more relaxed.
- It is easier to aim with cross-dominant sight (dominant eye and hand on opposite sides).
Disadvantages
- It is not as easy to adopt a position as Weaver’s.
- The range of movement is limited.
- Full arm extension allows for a wider field of view.
Aiming the pistol #
#
You’re now ready to learn how to aim a gun. Your stance is important to the accuracy of your shot, as you’ve learned in the previous section. Now, it’s time for us to focus on the sights.
The Patridge sight is fitted to most handguns. It consists of a rectangular rear-sight with a gap in the shape of either a rectangle or a U. They are also known as iron sights or ‘irons.’ sight align is the process of aligning the gap between the rear and square sight so that they are level. The correct sight alignment looks like an upside down’m.’
When you aim your front sight at the target, you will see a sight picture. When shooting, always keep your eyes on the front sight. Focus your dominant eye on the front sights and aim them at the target. The front sight of your rifle should be sharp, while the rear sights are slightly blurry. You can choose to keep your other eye closed or open, depending on how it feels for you. Many shooters choose to close the other eye when using iron sights to focus more on the front sight. However, this reduces peripheral vision and situational awareness.
There are two ways to align your sights on your target when learning how you aim a gun. The “6 o’clock” holding is one of them, while the more common center hold is another.
The 6 o’clock holds aligns your sight so that your front sight is at your target’s bottom edge. It looks like the number 6 on a watch. The center hold does exactly what it says. You align your sights so that your front and back sights are in the middle of your target when using this aiming method.
You can ignore the previous information in this section if you are using a red dot or a “dot” (also known as a pistol optical). The majority of pistol optics emit light through a transparent medium. This is usually red but can also be green or gold. Instead of focusing your attention on the red dot when aiming, focus on your target and then bring the dot up to the point where you are focusing. Also, it’s recommended that you keep both your eyes open.
The trigger is squeezed #
#
You can start shooting once you have mastered the art of aiming a pistol. We’ll start with the trigger finger.
Only the two joints nearest your fingertip should move when you squeeze the trigger. Most shooting experts agree you should position your finger between the first two joint, but closer to the one closest to your fingertip. You will have better control when you squeeze your trigger.
When we say “squeeze”, it’s because the most common mistake people make is to press the trigger too hard. The trigger can be jerked out of alignment if you pull it too quickly. This will cause your rounds to miss the target. You should squeeze the trigger with consistent pressure in the rearward direction until the gun fires. A proper trigger press shouldn’t be something you expect.
As you release the trigger pressure, you’ll hear and feel a click. This is the reset and indicates that the trigger has been moved enough forward for you to fire another shot. Keep your trigger in this position for faster follow-up shots. After the shot you shouldn’t move your finger, but rather keep it in contact with the trigger until you are done.
Improve your shot #
It’s great to learn pistol shooting tips. It is only through repetition that you can make them habits. You’ll be more confident and competent at handgun shooting the more experiences that you have.
Dry Fire
Dry firing is a great way to practice without having to use live ammunition. Dry firing is the practice of pulling the trigger while not using live ammunition. Check your owner’s guide before dry firing your pistol. You can dry fire most centerfire pistols. However, you shouldn’t do it with a rifle or rimfire handgun.
Gun Safety should be the first thing you remember when you handle a firearm. This is true even if the gun appears to be empty. Check to ensure your gun is empty before you practice your trigger pull. You can even check that there are no cartridges left in your gun between each dry fire to develop the habit.
Range Shooting
Dry firing can be a great way to improve your grip, and to become more familiar with pulling the trigger. There is no substitute for time on the shooting range to improve your shot.
You can learn from professionals how to become proficient with a gun. You can also meet people who share the same goal of improving their shooting.
Learn more about our diverse shooting experiences by visiting our other blogs!